
Depending on your billing cycles, the arrival of the mail often generates a number of payments that you must enter. With the Dentrix Batch Payment Entry feature, you can group payments together and enter them as a single batch from one dialog box, saving you valuable time.
To enter a batch patient payment
1. In the Ledger, click File, and then click Enter Batch Payments.
The Batch Payment Entry dialog box appears.
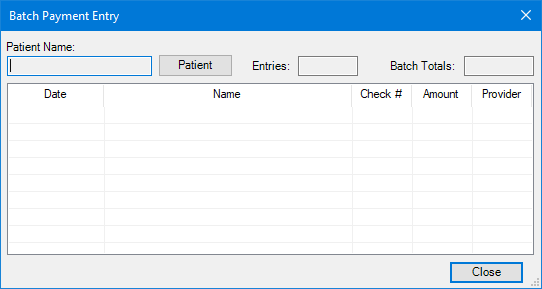
2. Click Patient.
The Select Patient dialog box appears.
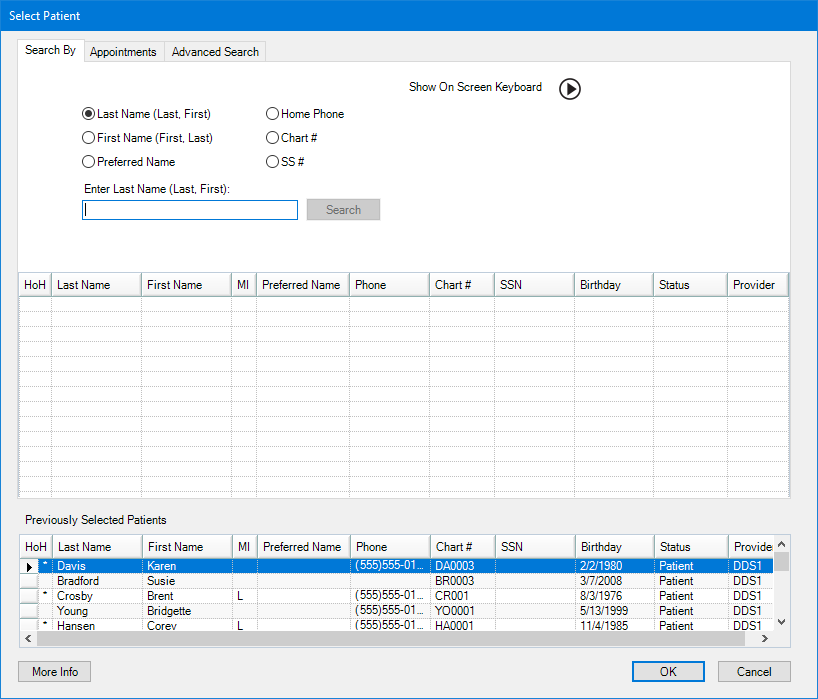
3. Select the appropriate patient, and then click OK.
The Enter Payment dialog box appears.

4. Use the following options to enter a payment:
· Payment Types - Select the appropriate type from the list.
· Date - If necessary, type a date or click the calendar and select a date to change the payment date from the current date.
· Amount - Type the payment amount in dollars.
· Check Number - Type the number.
· Bank/Branch # - Type the number. (Appears on the Dentrix Deposit Slip.)
· Provider - Select a provider from the list. (Default is to split the payment by provider.)
· Patient - Select the appropriate patient from the list, or select Split By Family Members. (Default is to apply the payment to the selected patient in the Ledger. If you select Split By Family Members, the payment is applied to the oldest family balance and posted to the guarantor’s ledger.)
· Split Method - Select one of the following options:
· Percentage Payments - Divides the payment among the providers according to the provider’s percentage of the total amount owed.
· Guarantor Estimate - Applies the payment to providers who have balances as guarantor estimates and ignores provider balances that Dentrix estimates insurance will pay the remainder of.
· FIFO (First In First Out) - Applies the payment toward the oldest completed procedures first.
· Equal Payments - Splits payment amounts equally among all providers with debit balances.
· Details - Click to view payment details.
· Note - Type a note to document any unusual circumstances related to the payment.
· Apply To Payment Agreement - (Selected automatically if the account has a payment agreement.) Clear the option if the payment should not be applied to the payment agreement.
5. Repeat steps 2 through 4 for any other payments you want to include in the batch.
6. When you are finished making payment entries, compare the number of entries made to the number of payments on hand.
7. To make corrections to any payment that you have already entered, double-click the entry.
The Enter Payment dialog box appears.
8. Change any incorrect information, and then click OK.