You can open the Claims Manager from the toolbars in the Ledger or the Office Manager or from the File menu.
To open the Claims Manager
1. To open the Claims Manager, in the Office Manager or the Ledger, click File, and then click Claims Manager.
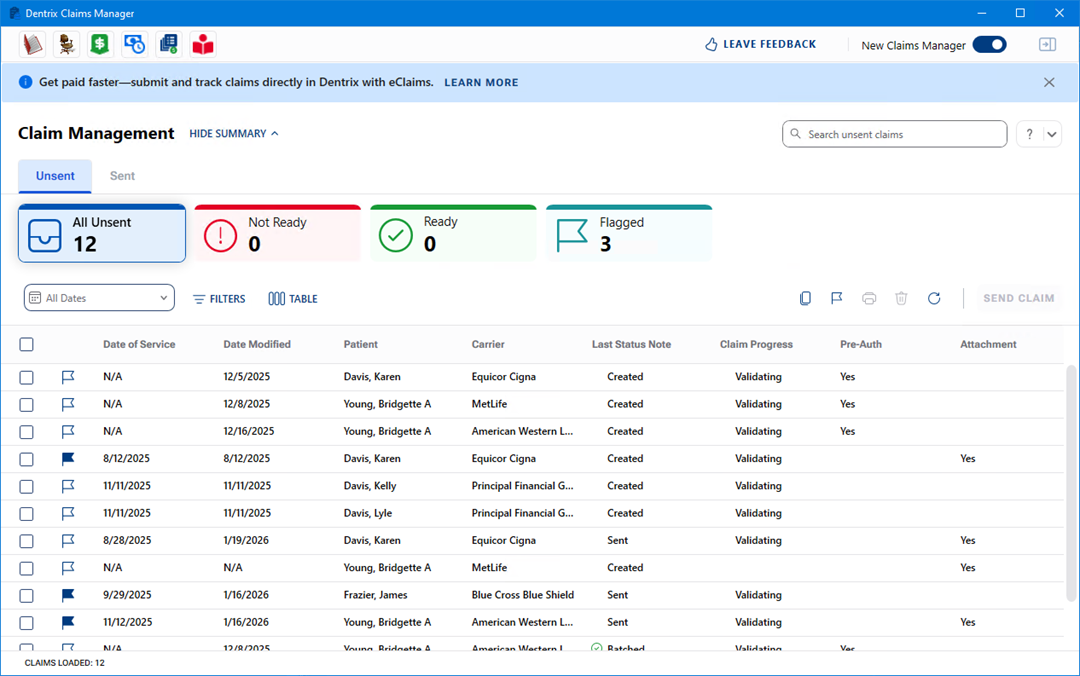
The Dentrix Claims Manager window appears.
2. To view a patient's claim information, click the patient's name.
The selected patient's claim information appears in the side panel.
3. To filter the claims list by unsent or sent status, click the Unsent or Sent tabs.
4. To filter the claims list by date or date range, click All Dates, and then from the menu, select one of the following options:
All Dates – Lists all claims.
Last 30 Days – Lists claims in the last 30 days.
Last 60 Days – Lists claims in the last 60 days.
Last 90 Days – Lists claims in the last 90 days.
Custom Range – Lists claims according to the beginning and end dates that you define.
Note: You can also sort claims in ascending or descending order by column.
All claims in the date range appear.
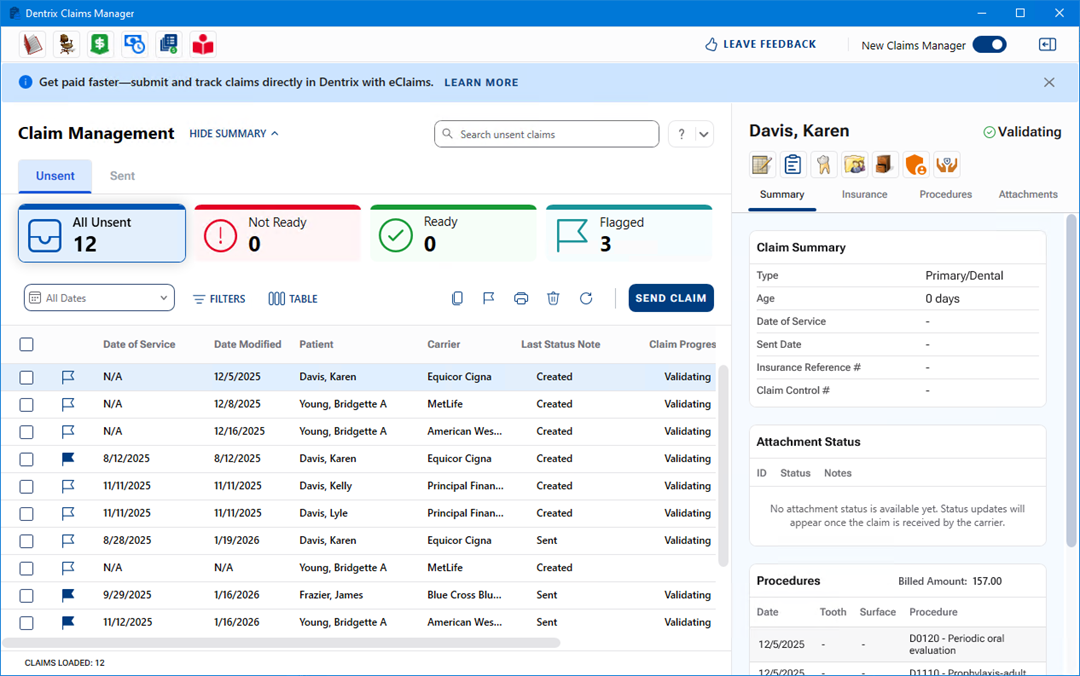
5. To view a specific claim, select it from the list.
The details of the selected claim appear in the side panel, click the Summary, Insurance, Procedures, or Attachments tabs for more detailed views.
6. To filter the claims list by claim type or status, click Filters.
The available filters appear.
Note: By default, all filters are applied.
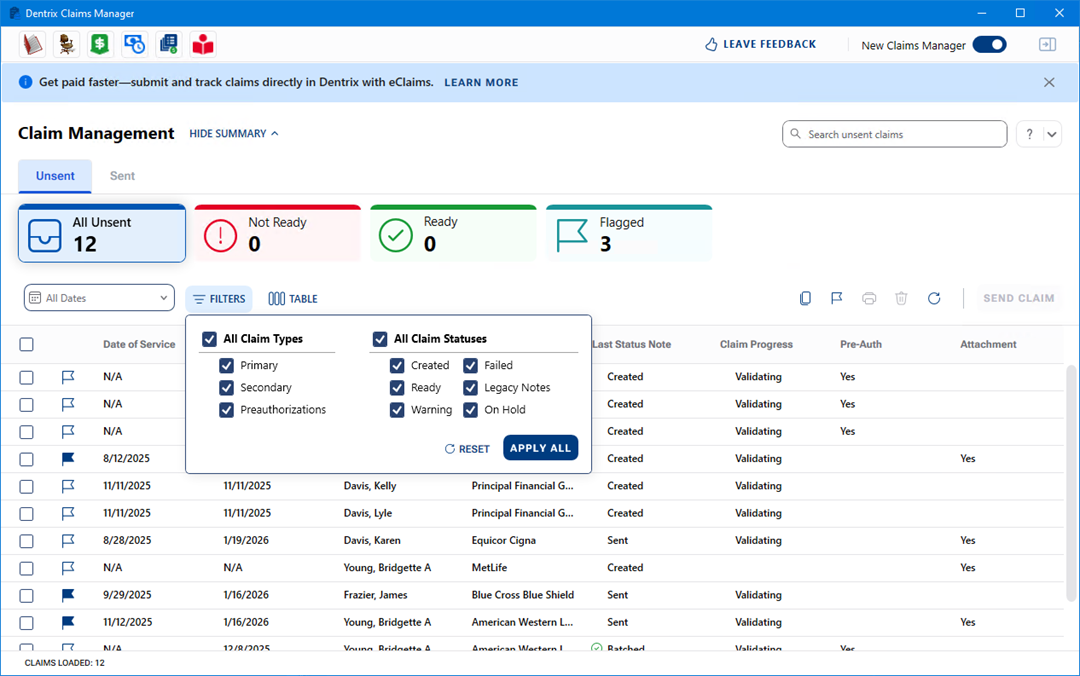
7. To restrict the types of filters you want to apply, do the following:
To view claim statuses only, clear the All Claim Types checkbox.
To view claim types only, clear the All Claim Statuses checkbox.
To view selected claim types, clear the All Claim Types checkbox, and then click the claim types you want to view, or click the claim types you don't want to view.
To view selected claim statuses, clear the All Claim Statuses checkbox, and then click the claim statuses you want to view, or click the claim statuses you don't want to view.