You can customize the Family File toolbar by inserting separators and adding, removing, or rearranging toolbar buttons. You can reverse any changes you make to the toolbar at any time.
To customize the toolbar
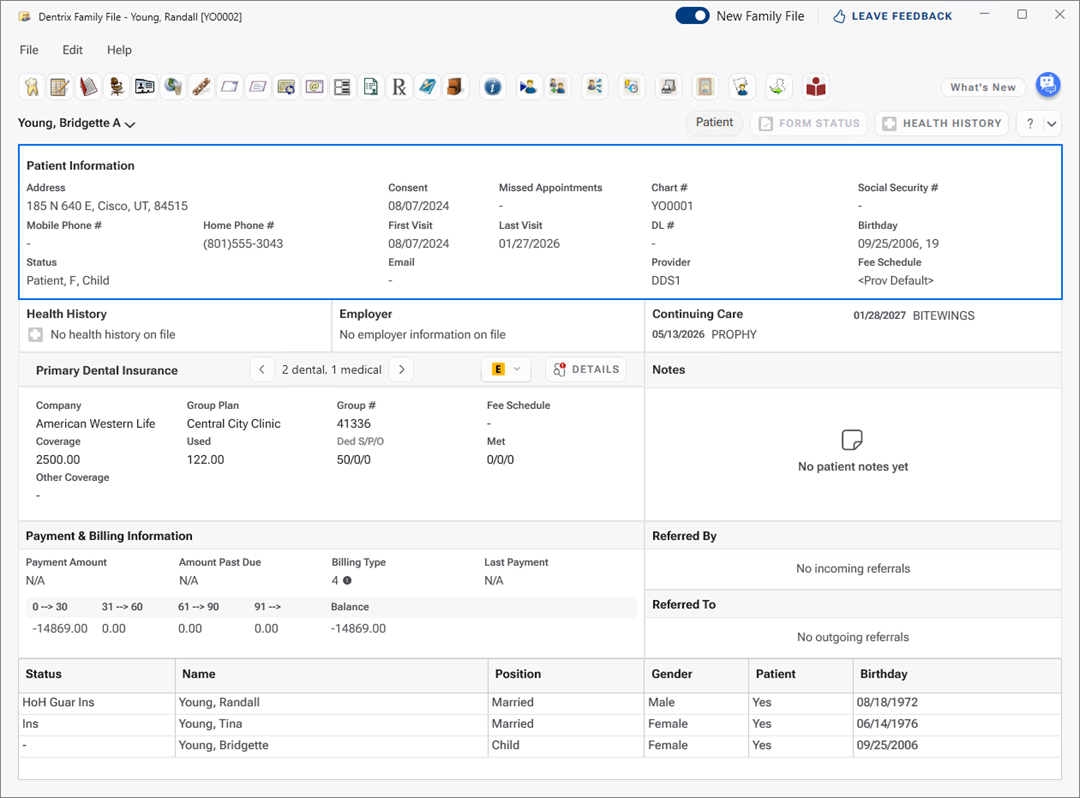
1. Open the Family File and select a patient.
The Family File window appears.
2. Right-click the blank space to the right of the toolbar, and then click Customize Toolbar.
Note: You can also right-click any toolbar button to hide that button or open the Customize Toolbar dialog box.
The Customize Toolbar dialog box appears.
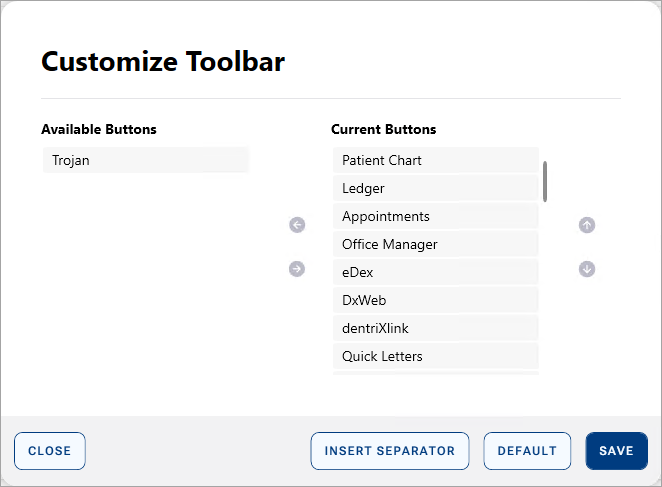
3. Do one or more of the following:
Insert a separator – In the Current Buttons list, click the desired button name, and then click Insert Separator.
Add a button – In the Available Buttons list, click the desired button name, and then click the Move to Document button ![]() .
.
Remove a button – In the Current Buttons list, click the desired button name, and then click the Move to Available button  .
.
Rearrange toolbar buttons – In the Current Buttons list, click the desired button name, and then click the Move Up ![]() or the Move Down button
or the Move Down button ![]() .
.
4. To save your changes, click Save.
5. To reverse your changes at any time, open the Customize Toolbar dialog box, click Default, and then click Save.