Note: This guide was created with Dürr Dental North American distribution, an OEM partner of Air Techniques, which is the manufacturer of the ScanX Swift phosphor plate scanner. For this reason, screenshots in this guide reference the ScanX Swift scanner; however, the setup for the VistaScan scanner should be the same.
Dentrix Imaging supports acquiring intraoral images from the VistaScan phosphor plate scanner on computers running the Windows operating system. You must install the drivers for the VistaScan scanner on every computer that the scanner is connected to.
Notes:
Before installing the VistaScan scanner, you must configure the acquisition agent application on each computer that you use to acquire images.
This guide was last updated: 1/29/2026.
You must install the drivers for the VistaScan scanner on every computer that the scanner is connected to.
Important: During the VisionX/VistaSoft install, do one of the following:
If you are only setting up to integrate with Dentrix Imaging, and Dentrix Imaging will not be used for anything else, select Install VistaSoft/VisionX Connect.
If you will use VistaSoft independent of Dentrix Imaging, select Install VistaSoft/VisionX.
To install VisionX/VistaSoft
1. Download and install VisionX/VistaSoft from the Air Techniques website (https://www.airtechniques.com/drivers/).
Note: The version of VisionX/VistaSoft to install depends on the computer's version of the Windows operating system. For example, as of writing this guide, version 2.4.13 is not intended for use with Windows 11, so you must install version 3.0.22 of VisionX/VistaSoft. If you are unsure of which version of Vision X is required or are unfamiliar with the VisionX/VistaSoft installation, reach out to Air Techniques Support for assistance.
2. Double-click the VisionX/VistaSoft icon.
3. Click Configuration.

4. Click Devices.
Note: If you do not see your device in the list, click Update (at the bottom) to refresh the list. Also, make sure that the device is turned on and connected either by USB or to the network.
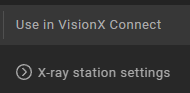
5. In the Use in VisionX Connect column, click Xray station settings.
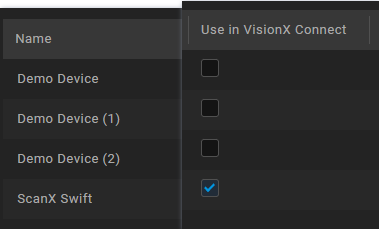
6. Select each device you want to use in Dentrix Imaging.
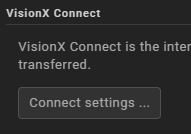
7. Click Interfaces.
8. Scroll to the VisionX Connect section, and then click Connect settings.
9. For a minimal VisionX Connect look, select Use minimal VisionX Connect interface.

After installing the VistaScan scanner, you can acquire a test image to test it.
To acquire an image
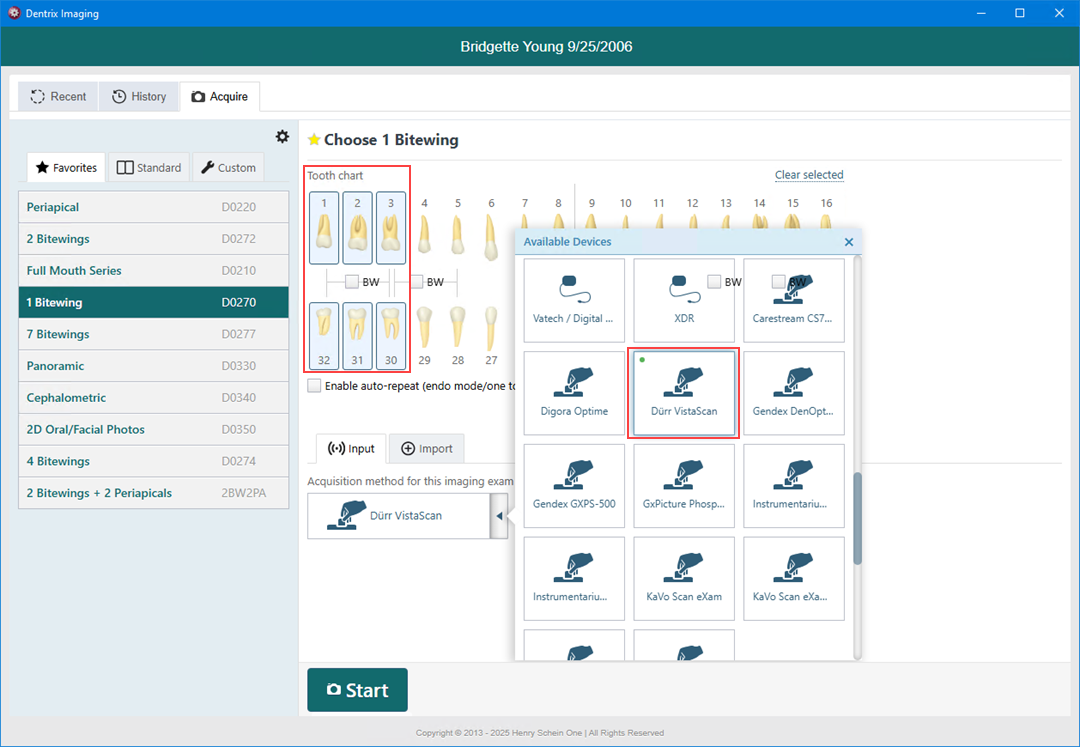
1. Open Dentrix Imaging, and then click the Acquire tab.
2. In the Favorites list, click 1 Bitewing.
3. In the Tooth chart, click the teeth you want to image.
4. In the Acquisition method for this imaging exam menu, click Dürr VistaScan, and then click Start.
5. Click Start Acquisition.
The VistaScan device is ready to scan a plate.
6. When the acquisition starts, make sure the correct device and desired resolution are selected, and then start scanning the plate.
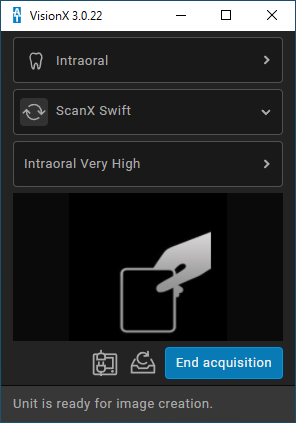
7. After the plate is scanned, click End Acquisition to transfer the image to Dentrix Imaging.
Confirm that the VistaScan device driver is loaded and recognized by Windows.
To confirm that the VistaScan device driver is loaded
1. Open Device Manager.
2. Expand the Universal Serial Bus controllers category.
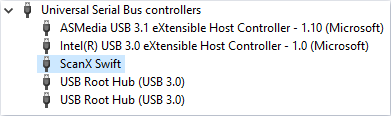
3. Right-click VistaScan, and then click Properties.
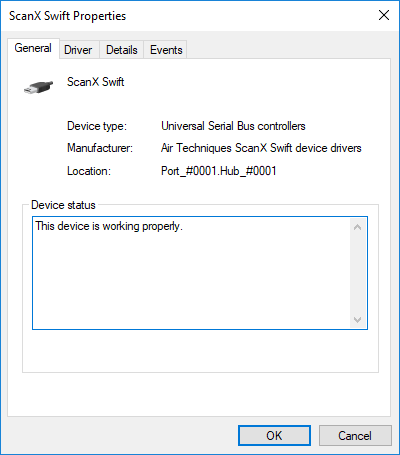
4. Make sure "This device is working properly" appears.