Dentrix Imaging supports acquiring intraoral images from SOPIX intraoral X-ray sensors on computers running the Windows operating system. You must install the drivers for the SOPIX sensor on every computer that the SOPIX sensor is connected to.
Notes:
Prior to installing the SOPIX sensor, you must configure the acquisition agent application on each computer that you use to acquire images.
There is a separate guide for setting up the SOPIX gen 2 sensor.
This guide was last updated: 11/11/2025.
You must install the SOPIX sensor drivers on every computer the SOPIX sensor is connected to.
To install the SOPIX sensor drivers
1. Do one of the following:
Run the installer for your SOPIX sensor from the setup application on the disc included with your device.
Download the installer from the SOPRO website.
Notes:
The installer is available for download from https://www.acteonportal.com/Acteon-Team-Access/Downloads.
Updated drivers are available at https://www.soprotechnicalsupport.com/drivers/.
To download the file, right-click the SOPIX Series including TWAIN (32 & 64 bit versions - Windows 10 compatible) link, copy it, and then paste it as a new window.
2. If a User Account Control message appears, click Yes.
The SOPIX Device Driver Installer wizard starts, and the Welcome screen appears.
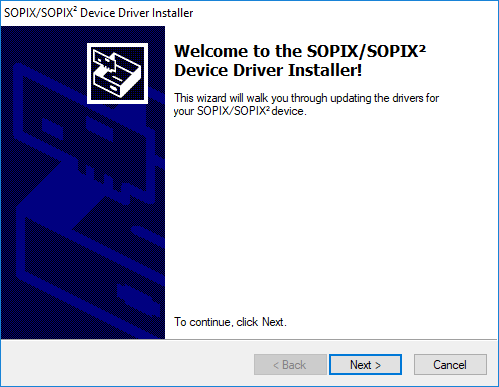
3. Click Next.
When the installation is complete, the Congratulations! screen appears.
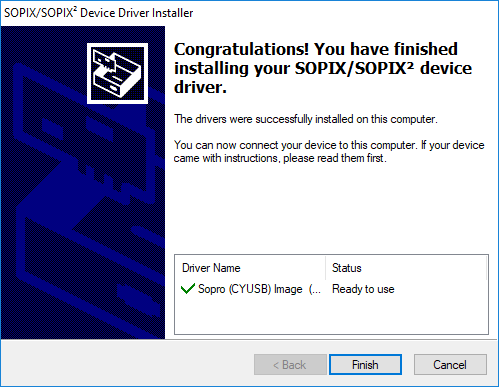
4. Click Finish.
5. Connect your SOPIX device to a USB port on the computer.
Notes:
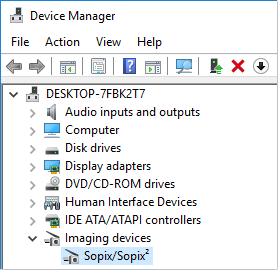
You can confirm that the driver loaded successfully and that Windows recognized the device in Device Manager. With the sensor connected to a USB port, open Device Manager, and then click Imaging Devices. Your SOPIX device should appear in the list.
If your device is not listed or is not working properly, double check the USB connection. If this does not resolve the issue, uninstall and then reinstall the driver and reopen Device Manager. If reinstalling the driver does not resolve the issue, contact ACTEON/SOPRO customer service at 1-877-4ACTEON.
Once the SOPIX sensor is functional, you can test it by acquiring an image.
To acquire an image
1. Open Dentrix Imaging, and then click the Acquire tab.
2. In the Favorites list, click 1 Bitewing.
3. In the Tooth chart, click the teeth you want to image.
4. In the Acquisition method for this imaging exam menu, click Sopro SOPIX, and then click Start.
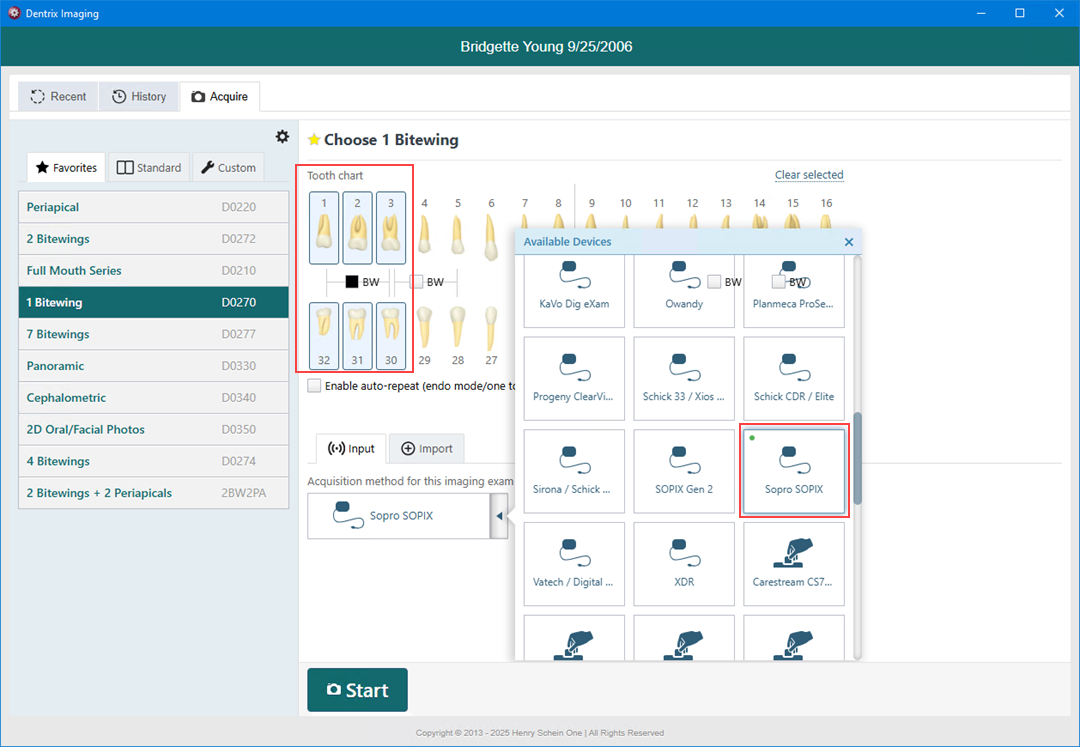
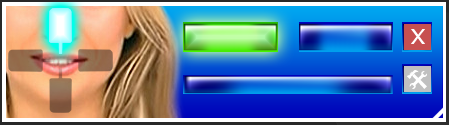
5. When you see the Sopro SOPIX interface, acquire an image using the SOPIX sensor.
You can confirm that the sensor device driver is loaded and recognized by Windows.
To troubleshoot the SOPIX sensor device driver
1. Connect the sensor to a USB port.
2. Open Device Manager.
3. Expand the Imaging Devices category, and make sure that Sopix/Sopix2 is listed.
4. If your sensor is not being detected by Windows, or if it appears with an error message, double check the physical USB connection. If this does not resolve the issue, try uninstalling and re-installing the driver, and then check Device Manager again. If re-installing the drivers does not resolve the issue, contact Acteon/Sopro customer service at 1-877-4ACTEON (1-877-422-8366).