
Dentrix Imaging supports acquiring intraoral images from the KaVo Scan eXam One phosphor plate scanner on computers running the Windows operating system. You must install the drivers for the ScanX scanner on every computer that the Scan eXam One scanner is connected to.
Notes:
· Before installing the Scan eXam One scanner, you must configure the acquisition agent application on each computer that you use to acquire images.
· This guide was last updated: 6/12/2025
You must install the device drivers for the Scan eXam One scanner on every computer that the Scan eXam One scanner is connected to.
Note: Before you install a new version of the DTX Studio Driver Dashboard, check to see if it is already installed and running. If it is installed and running, an icon appears in the system tray.
To install the Scan eXam One device drivers
1. Download the DTX Studio Driver from https://dexis.com/en-us/download-center (filter the list by "DTX Studio" or search for "DTX Studio Driver" to find the installer).

2. After the download is complete and before you extract the files from the archive (.zip file), right-click the .zip file, select Properties, clear the Unblock checkbox, and then click OK.

3. Extract the .zip file.
4. In the extracted folder, right-click DTXStudioDriverInstaller.exe, and then click Run as administrator.

5. Complete the install steps, following any prompts that appear. Reboot, if the installer prompts you to do so.
6. Connect the device, and check for a device connection by looking at the DTX Studio Driver Dashboard in the system tray.
The Scan eXam One scanner is functional and ready to acquire images.
To acquire a test image
1. In the Imaging Procedures list, click Bitewing Single Image.

2. In the tooth selection chart, click the teeth you want to image.

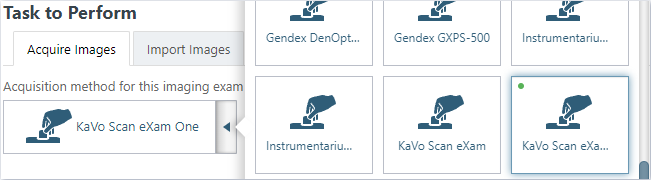
3. In the Acquisition method for this imaging exam menu, click KaVo Scan eXam One.
4. Click Proceed with Acquisition.
A DTX Studio Driver Dashboard window opens.
5. Acquire an image using the DTX Studio Driver Dashboard window.
The captured image appears in Dentrix Imaging automatically.