
Dentrix Imaging supports acquiring 3D CAD/CAM scans from DS Core on computers running the Windows operating system via the DS Core software bridge.
Notes:
· Before installing any imaging devices or setting up the DS Core software bridge, you must configure the acquisition agent application on each computer that you use to acquire images.
· Configure all devices in DS Core before using them with Dentrix Imaging. Please contact Dentsply Sirona for assistance: Welcome to Dentsply Sirona Support | Support.
· This guide was last updated: 10/6/2025.
· Acquisition agent version: 121.1.9370.xxxxx or later
To set up the DS Core software bridge
1. Log in to DS Core.
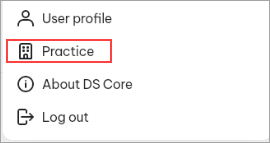
2. Click Practice.
3. Click the API Keys tab.
If the API Keys tab isn't on the account, contact Dentsply/Sirona support for assistance.

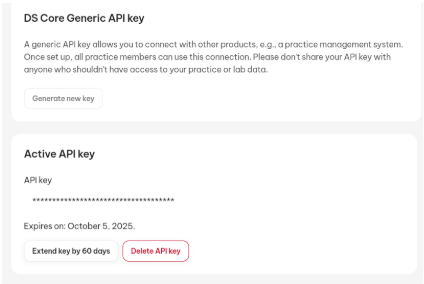
4. Do the following:
· Click the Generate new key to create an API key.
· Copy the newly created key.
Note: If an API key is already linked to the account and you don't have access to it, delete the current key and create a new one. Doing so allows you to copy the API key.
5. Complete the following:
· Open the Acquisition Agent Preferences dialog box, and then click the Software Bridge tab.
· Click the Page 2 tab.
6. Under DS Core, complete the following:
· App Launch URL – The base URL of the DS Core website where you log in.
· API Key Path – The API key that you copied in step 4.
· API Server Path – The path for the API server associated with your account. The path is based on the App Launch URL (https://api.r1.dscore.com).
· Auto-launch DS Core – Select to open a DS Core window on the same machine that started the acquisition in Dentrix Imaging.
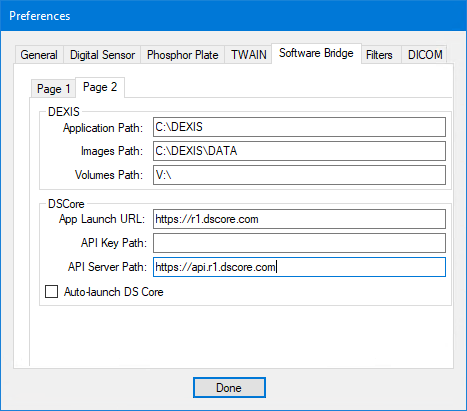
7. Click Done.
Once the DS Core software bridge is functional, you can test it by acquiring an image.
To acquire a test image
1. In the Standard list, click CAD/CAM Scan.
2. In the Acquisition method for this imaging exam menu, click DS Core Software.
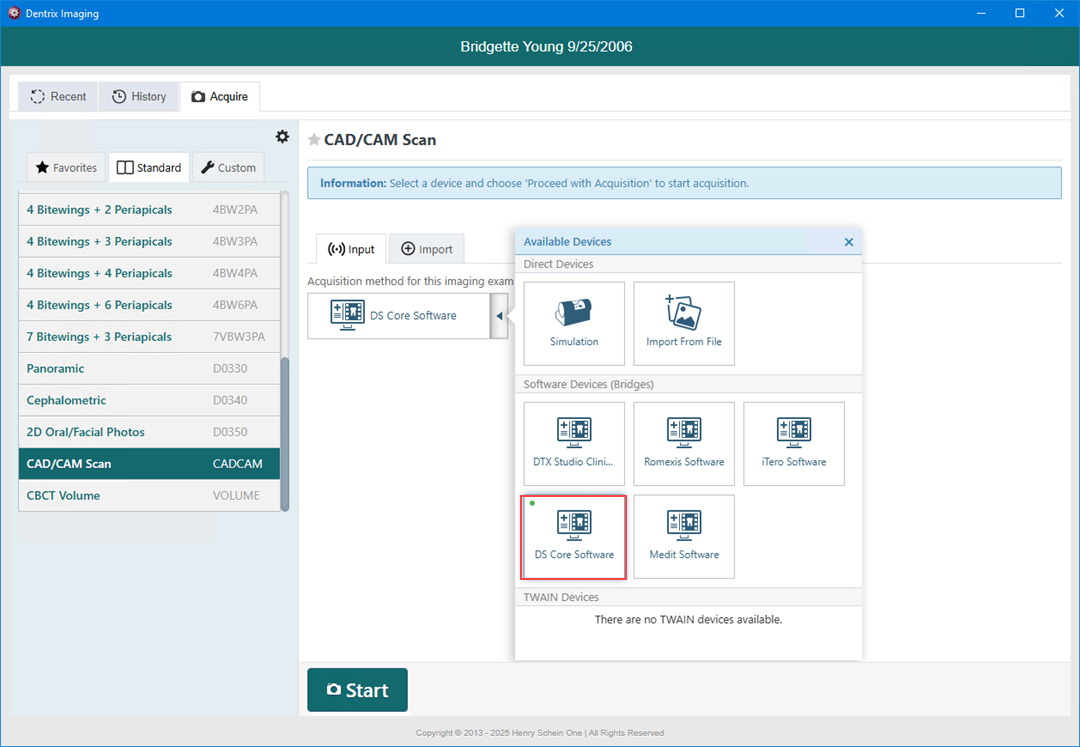
3. Click Start.
4. In DS Core, select the desired patient, and then acquire the desired images.
The captured images appear in Dentrix Imaging automatically.
Important: Currently, DS Core does not send Buccal scans back to Dentrix Imaging.
5. Assign the 3D models to the correct slot, and then click Begin Uploading.
6. The exam is created and is viewable in the exam list.
In the Acquisition Agent Preferences dialog box, ensure that the DS Core settings are correct.
For any issues related to a device not working in the DS Core software, please contact Dentsply Sirona Support: Welcome to Dentsply Sirona Support | Support