
Dentrix Imaging supports acquiring intraoral images from the DEXIS Platinum intraoral X-ray sensor.
· You must install the drivers for the DEXIS Platinum sensor on each Windows client workstation that the DEXIS sensor will be connected to or plugged into.
· You must install calibration/correction files on each Windows client workstation that the DEXIS sensor will be connected to or plugged into.
Notes:
· Before installing any imaging device, you must configure the acquisition agent application on each Windows client workstation that you will use to acquire images.
· Gendex GXS-700 and DEXIS Platinum use the same “Fusion Driver and API Update.exe” installer described below. Therefore, if you already installed Gendex GXS-700 and it is working on this computer, the Platinum sensor needs no further configuration and is selectable for use from Dentrix Imaging. You may need to either copy the calibration files or set the acquisition agent preference to where the already installed DEXIS Platinum sensor calibration files are located on the computer if they are not already located where the Acquisition Agent is set to search for them.
· Dentrix Imaging supports the DEXIS Platinum sensors directly without installing GxPicture. If you installed GxPicture previously with the option selected for supporting the Platinum sensors, run the GxPicture installer again, but do not select the option to support Platinum sensors.
To set up the DEXIS Platinum sensor - fusion driver
1. As Administrator, double-click "Fusion Driver and API Update.exe," and install the device drivers on each computer that you will use to acquire images.
The Fusion Driver and API Update - InstallShield Wizard dialog box appears.
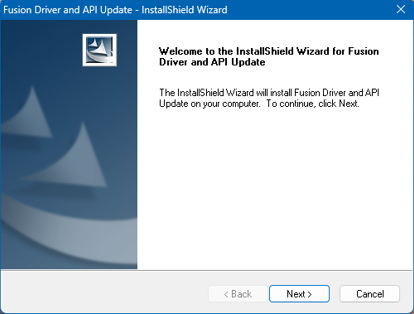
2. Click Next.
The Choose Destination Location screen appears.
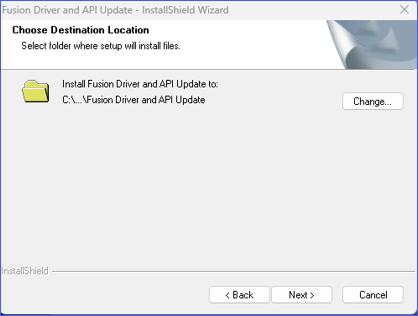
3. Select the destination folder for the Fusion driver, and then click Next.
The Ready to Install the Program screen appears.
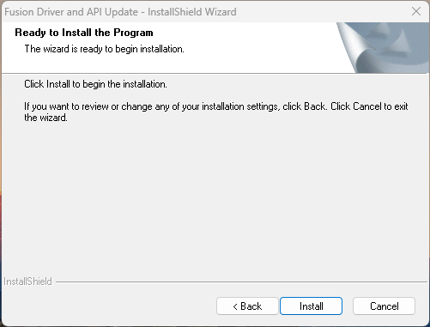
4. Click Install.
5. Install the DEXIS Platinum sensor calibration file for each DEXIS Platinum sensor used on every computer that will acquire images from that specific serial number Platinum sensor.
Notes:
· The sensor will not operate without the correct (matching serial number) calibration file.
· The calibration file is contained on a CD labeled “DEXIS Platinum Sensor File” that ships with each DEXIS Platinum sensor and is labeled with the sensor serial number. The DEXIS Platinum sensor has the same serial number located on the cable by the USB connector. The calibration file (also called a correction file) is serial number specific and must be the calibration file for this specific serial number DEXIS Platinum sensor.
· If the DEXIS Platinum sensor has been previously installed and operating upon this computer (i.e. the user was operating different imaging software previously), then the calibration files have already been installed.
· In most cases DEXIS can supply the calibration/correction files for the specific serial number sensor if the CD cannot be located and/or the calibration files are not already copied to the computer.
Once you have set up your Platinum sensor and configured the DTX Studio bridge, your sensor is ready to use with Dentrix Imaging.
To test the DEXIS sensor
1. Open the Patient Chart and select a patient.
2. Open Dentrix Imaging.
The Dentrix Imaging dialog box appears.
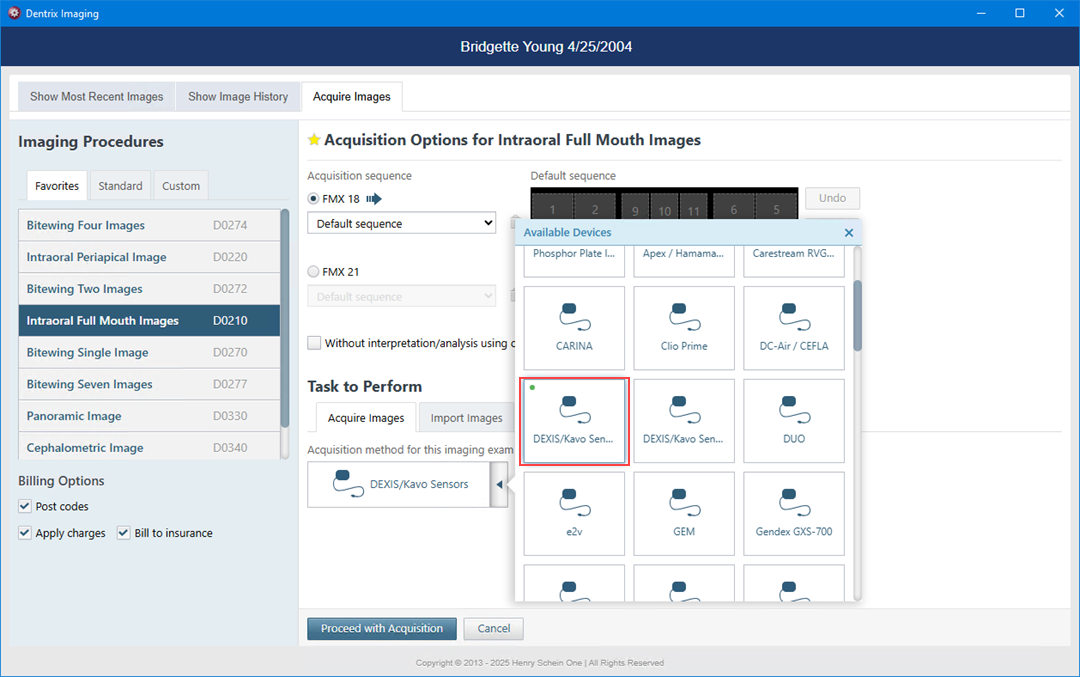
3. Click the Acquire Images tab, and then from the Imaging Procedures list, click Bitewing Single Image.

4. In the tooth selection chart, click the teeth you want to image.

5. In the Acquisition method for this imaging exam list, click DEXIS/KaVo Sensors (DTX Studio Bridge), and then click Proceed with Acquisition.
Note: If an error occurs, restart the computer to correct the error.
6. Click Finish Acquisition.