
You can edit any custom imaging procedure. Any changes to a custom imaging procedure do not affect images that have already been taken using that imaging procedure.
To edit a custom imaging procedure
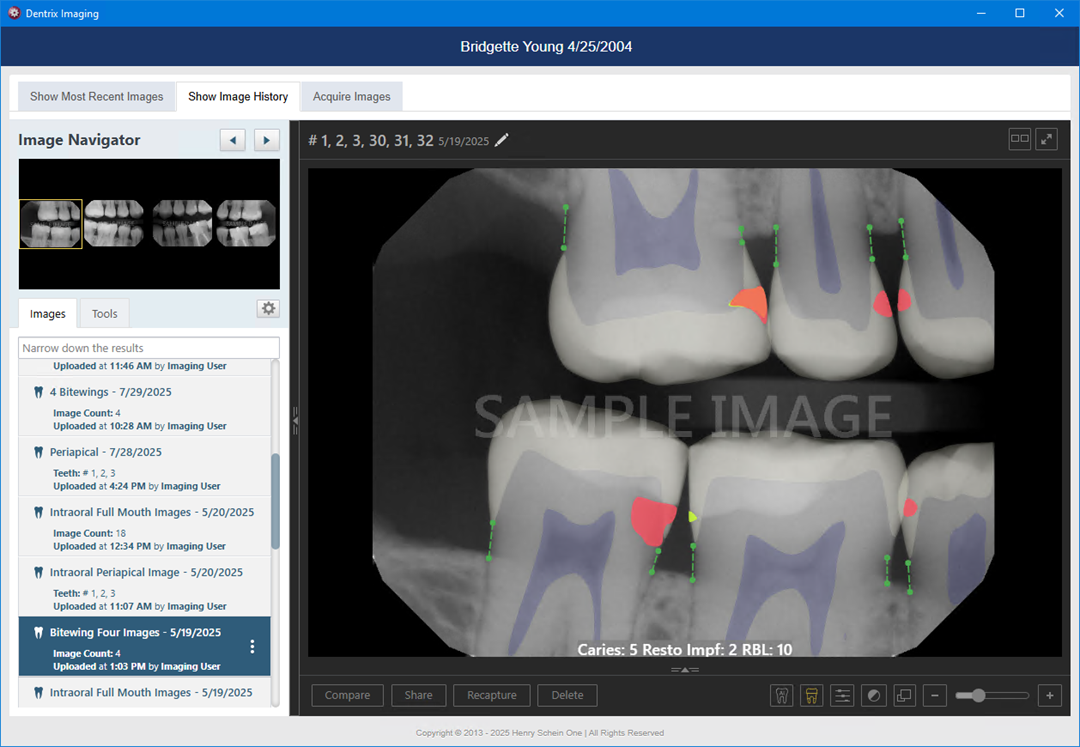
1. Open the Patient Chart and select a patient.
All images pertaining to the selected patient appear in the Imaging panel.
2. In
the Imaging toolbar, click the Launch Dentrix Imaging icon ![]() .
.
The Dentrix Imaging window appears.
3. Click the Acquire tab.
The options for acquiring images become available.
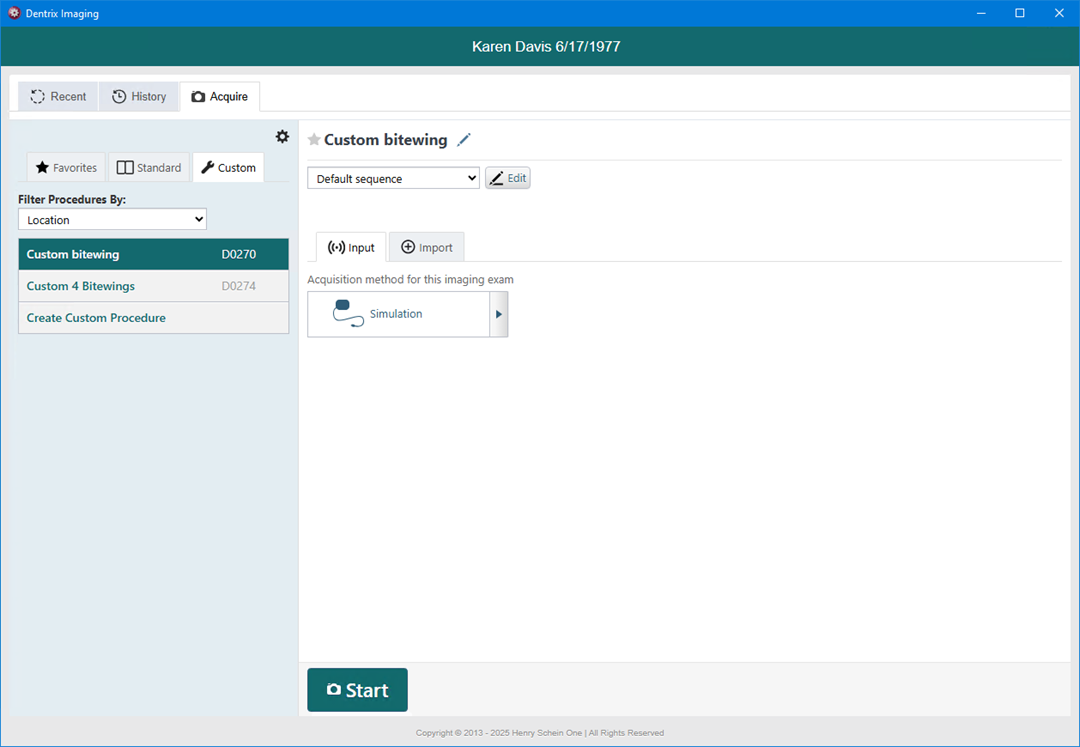
4. Click the Custom tab.
Any existing custom imaging procedures are listed.
Note: Custom imaging procedures are location, organization, or user specific.
5. Select an imaging procedure.
The options for the selected procedure become available.
![]()
6. Click the Edit button.
The options to edit the imaging procedure become available.

7. Change any of the following options as needed:
· Procedure Name – A name (up to eleven characters) for the imaging procedure.
· Code – A valid procedure code or a multi-code. The specified code posts to a patient’s record when this imaging procedure is used to acquire images. However, if the code is invalid, an error message appears during acquisition, and the code is not posted.
8. Edit the image placeholders in the template as needed:
a. To move a placeholder, drag it to a different spot.

b. To switch the orientation of the selected placeholder, click the Rotate button.
c. To assign different tooth numbers to the selected placeholder, click the Edit button.
d. Repeat steps a - c as needed to edit other placeholders.
Note: You cannot add or remove placeholders.
9. To view or change the default acquisition order, click the Edit button.
The Edit Acquisition Sequence dialog box appears.
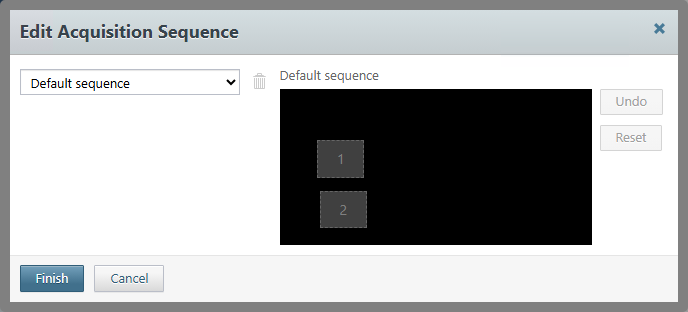
To change the default sequence, do the following:
a. Click each placeholder in the order that you want to acquire the images.
Note: To undo order assignments, click Undo.
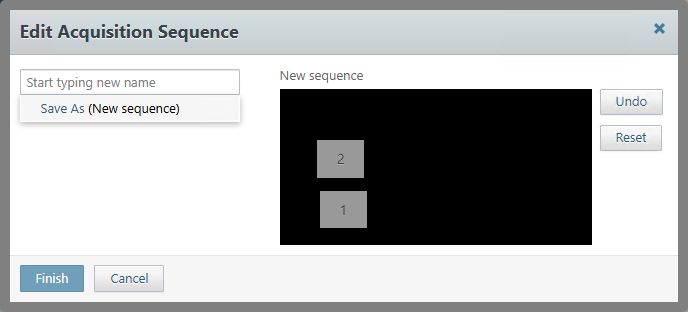
b. Type a new name for the sequence, and then click Save As (New sequence).
c. When you have assigned an order to every placeholder, click Finish.