
You can delete any custom imaging procedure. Deleting a custom imaging procedure does not affect images that you have already taken using that imaging procedure.
To delete a custom imaging procedure
1. Open the Patient Chart and select a patient.
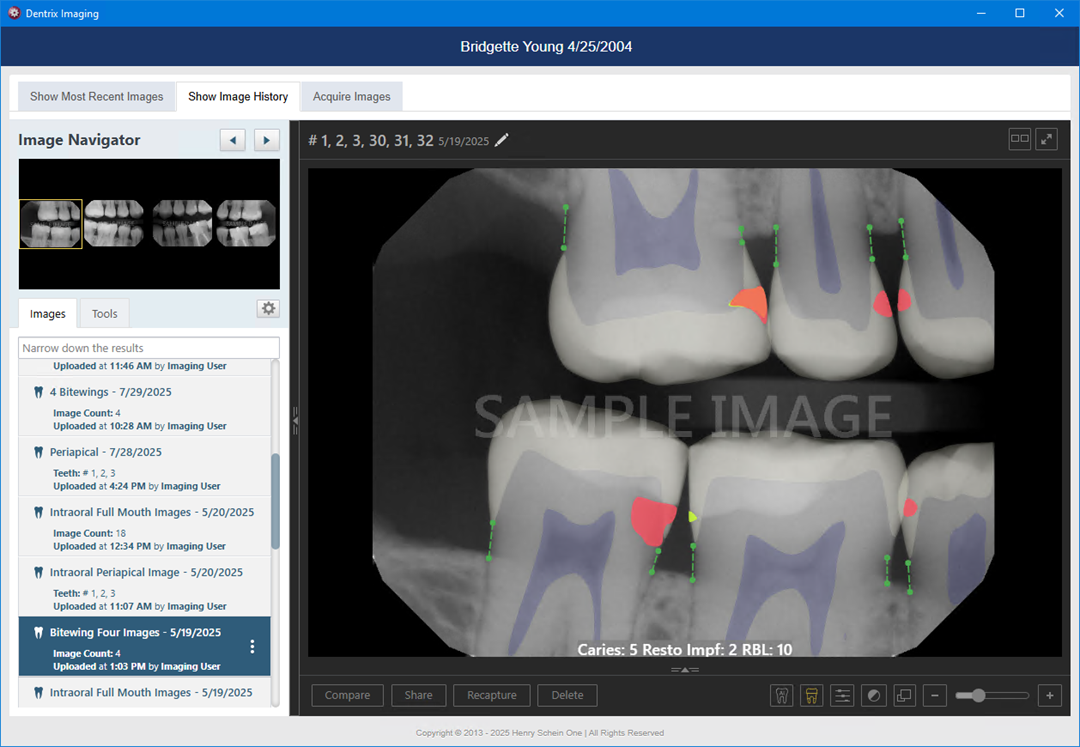
All images pertaining to the selected patient appear in the Imaging panel.
2. In
the Imaging toolbar, click the Launch Dentrix Imaging icon ![]() .
.
The Dentrix Imaging window appears.
3. Click the Acquire tab.
The options for acquiring images become available.
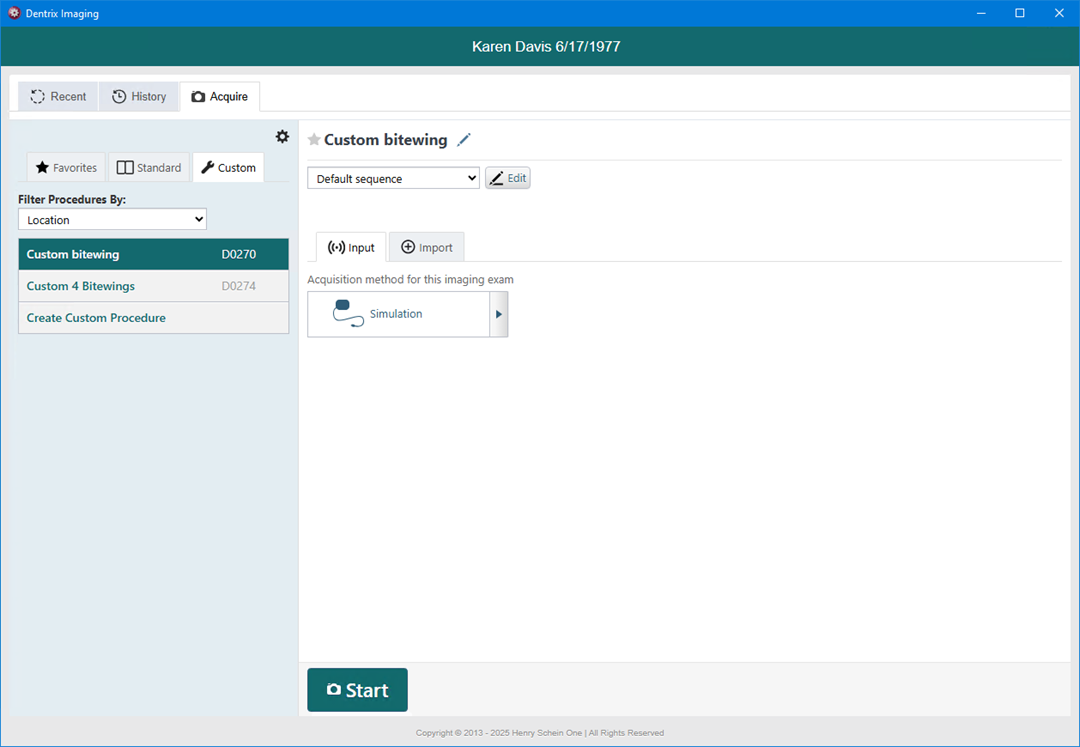
4. Click the Custom tab.
Any existing custom imaging procedures are listed.
Note: Custom and favorite imaging procedures are location specific.
5. Select an imaging procedure.
6. Click the Edit button.
The options to edit the imaging procedure become available.

7. Click Delete.
A confirmation message appears.
8. Click Yes.