After installing the DTX Studio Bridge, you can configure it using the DTX Studio Bridge Configuration Wizard.
To configure the DTX Studio Bridge
1. In the DTX Studio Bridge Configuration Wizard screen, select I accept the terms in the license agreement.
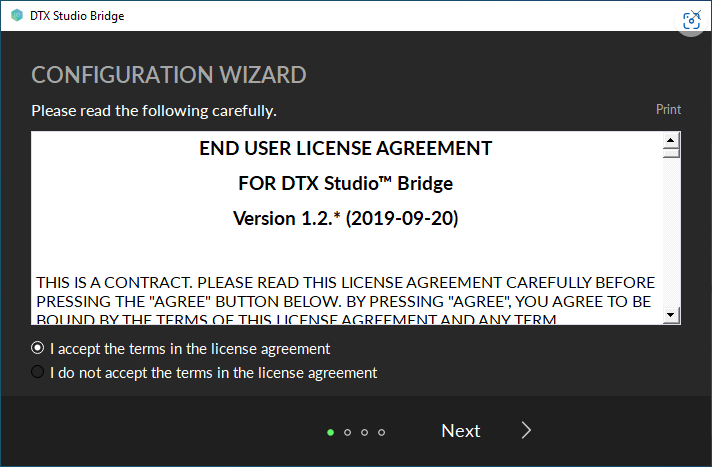
2. Click Next.
The Installation key screen appears.
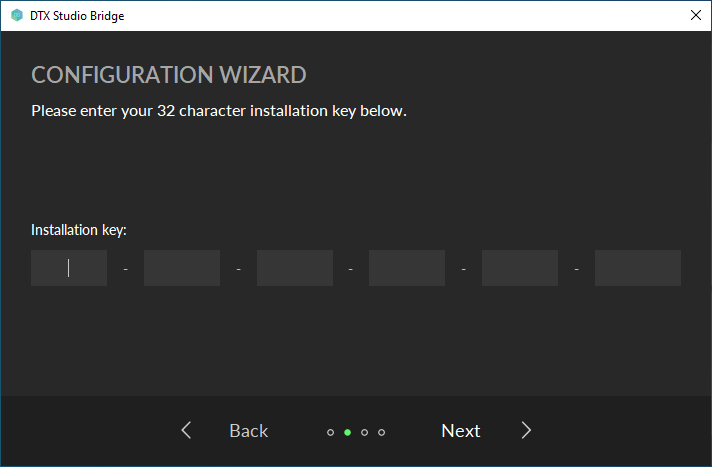
3. Enter the Installation key, and then click Next.
The Working folder screen appears.
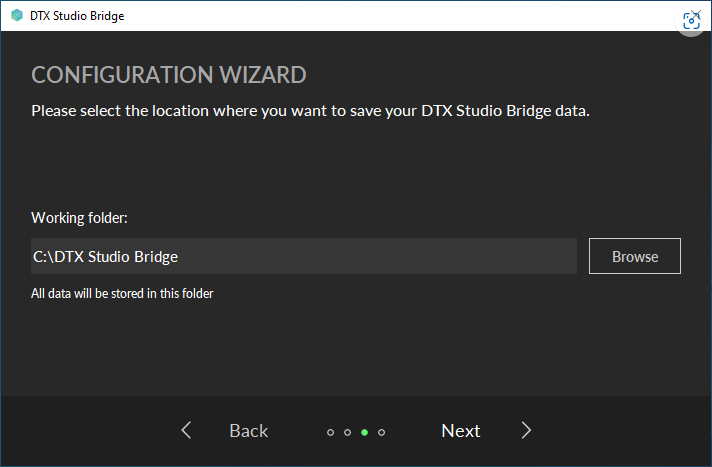
4. Verify that the location of the working folder is correct.
All data is stored in the specified folder. To select a different folder, click Browse.
5. Click Next.
When the installation is complete, the Installation successful screen appears.
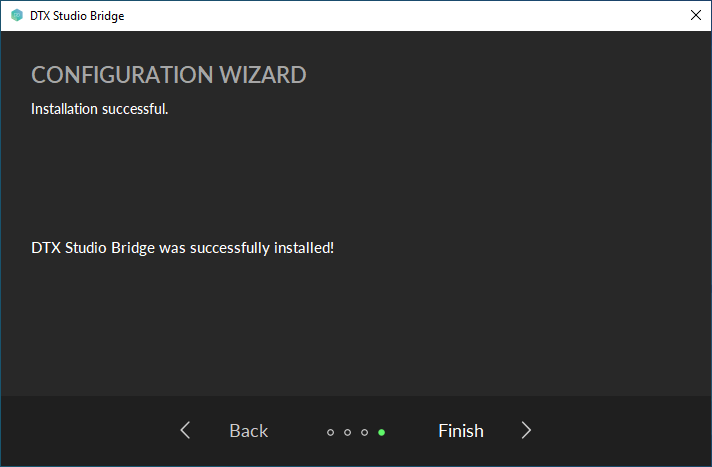
6. Click Finish.
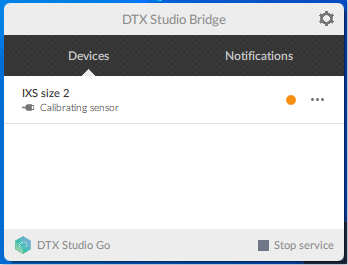
7. Connect the KaVo IXS sensor.
The calibration files download automatically.
8. Click the DTX Studio Bridge icon in the System Tray.
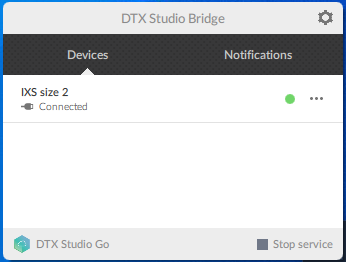
When the KaVo Sensor is ready to use, a green dot appears, and the sensor's status is "Connected."