
You can manually attach images to a claim using Dentrix Imaging.
To attach images to a claim manually
1. Open the Ledger and select a patient.
2. In the Transaction Log, double-click the claim you want to attach an image to.
The Primary Dental Insurance Claim window appears.
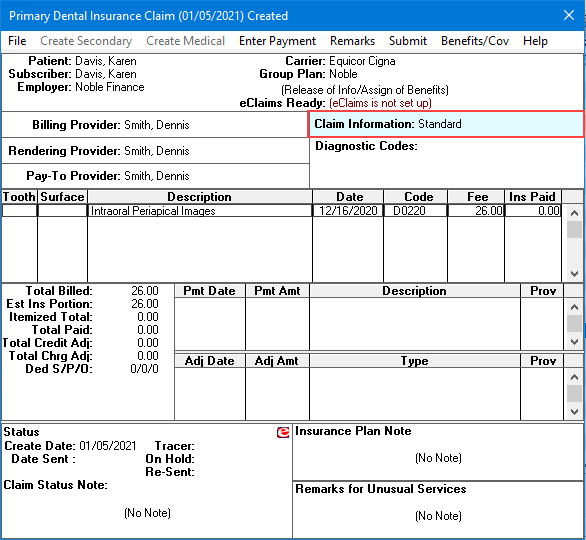
3. Double-click Claim Information.
The Insurance Claim Information dialog box appears.

4. Under Attachments, specify the number of attachments that you want to include with the claim.
5. If applicable, type the Insurance Ref #, and then click Include Attachments.
The Include Attachments dialog box appears.

6. In the Attach From list, select Imaging, and then click the blue chevron icon.
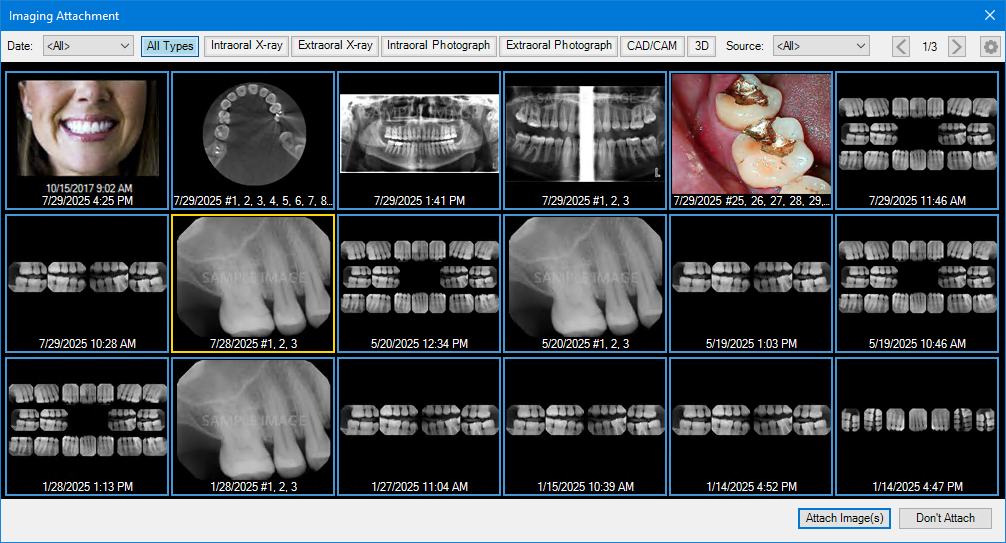
The Imaging Attachment dialog box appears.
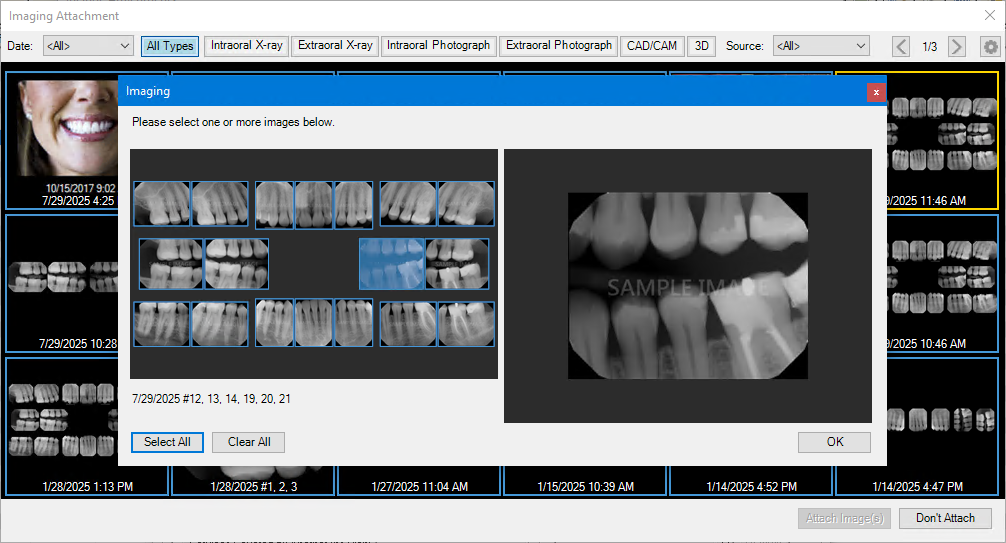
Note: If you select an image containing multiple images (bitewings or full-mouth, for example), the Imaging dialog box appears from which you can select a single image or all images.
7. Click the image or images that you want to attach to the claim, and then click Attach Image(s).