Procedure notes are attached directly to a procedure for documentation and reference purposes. You can add notes manually during posting. However, to make creating procedure notes faster and more accurate, you can create a default note for each procedure code. When you post a procedure code in the Patient Chart or the Ledger that has a default note attached, the note is inserted automatically. Once the note is added, review it and make any changes unique to the patient's treatment.
Note: The Edit or Delete Procedure dialog box shown in this Help topic contains the Medical Cross Coding group box. This group box only appears if the procedure code has been cross coded.
To enter or edit a procedure note
1. From the Progress Notes panel, double-click the procedure that you want to add a note to.
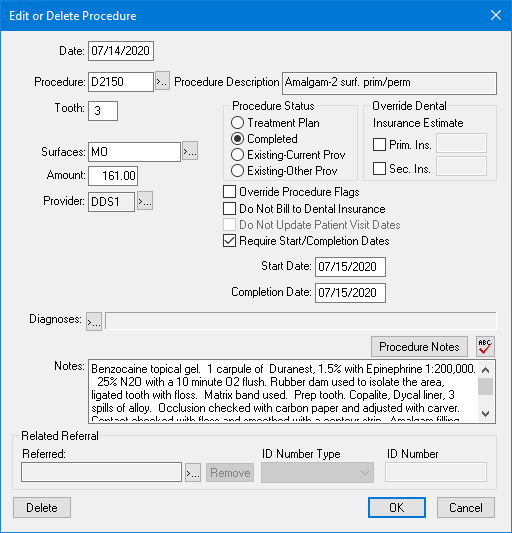
The Edit or Delete Procedure dialog box appears.
Note: If you posted the procedure but it does not appear in the Progress Notes panel, make certain that you selected the correct option from the View menu.
2. In the Notes field, type the note information for the procedure.
If you attached a default note to the procedure, the note text appears automatically.
a. Make changes to the note as needed.
b. To insert a custom procedure note as a template for the note, click Procedure Notes.
c. Click the spell check button to check the spelling of the note text.
3. Click OK to save the note and any other changes.
A "»" symbol appears with the procedure in the Progress Notes panel, indicating the procedure has an associated note.
4. To view the procedure notes, double-click the procedure, or click the Expand Notes button on the Progress Notes toolbar.