

You can view, export, or pin images in the Imaging panel in the Diagnostic Viewer or in the application software that is associated with the image.
To view an image in the Imaging panel
1. In the Imaging panel, click the image that you want to view.
The Diagnostic Viewer appears.
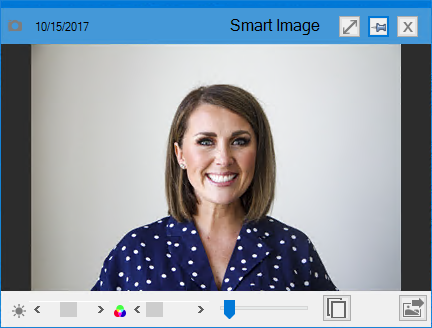
If more than one image is represented by the image in the image bar, the following dialog box appears.

Click the image you want to view from the list, and then click OK.
The Diagnostic Viewer appears with the image you selected.
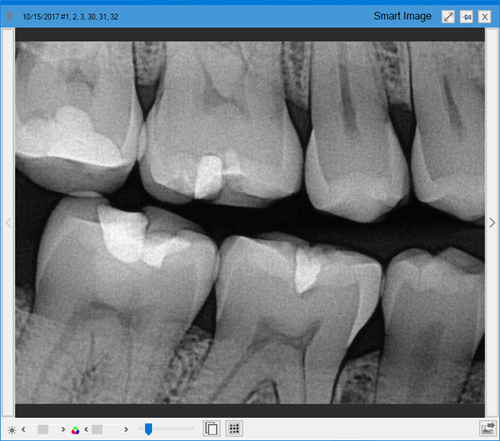
2. If necessary, do one of the following:
To copy or export the image, click the Click to export this image icon.
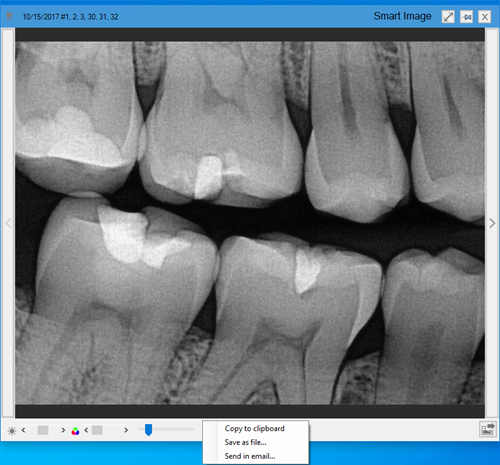
Note: You can copy the image to the Clipboard, save it as a file, or send it in an email message.
To select an image related to this image, click the Click to select an image from a list of images related to this image icon.
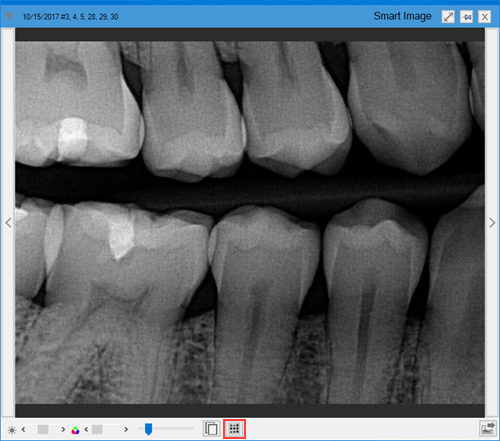
To open the imaging software associated with this image, double-click the image, or click the Click to launch the imaging software associated with this image and instruct it to load this image icon.
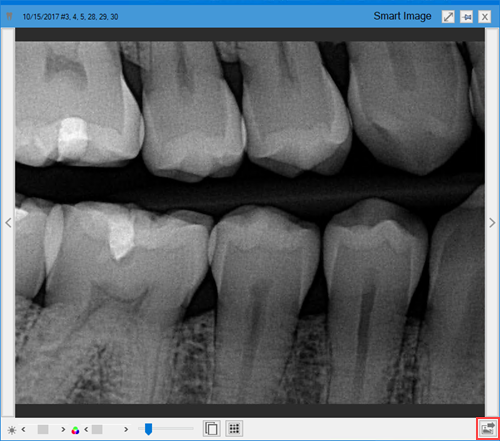
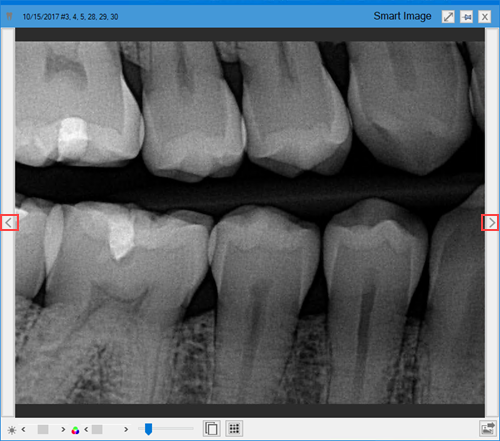
To move to the next or previous image in a template exam, click the Click to go to the next image or the Click to go to the previous image icon.
3. To pin an image, click the Pin button in the Diagnostic Viewer.
Note: You can pin up to four images, so that you can view them all at once.
4. To adjust the image's gamma (left-most slide bar), contrast (middle slide bar), and/or zoom ratio settings (right-most slide bar), use the slide bars to increase or decrease these settings.
Note: Any changes you make to an image [gamma (brightness) and contrast] are temporary. You can reset any changes by closing the viewer, double-clicking the image, or clicking the gamma and contrast icons.