
You can create an associated DDX lab case for CAD/CAM scans. Once you complete the scan, the case is submitted to the desired lab.
To create a DDX lab case
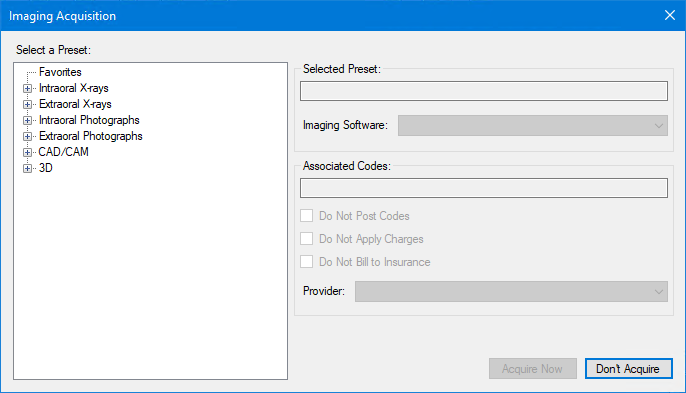
1. In the Imaging toolbar, click the Acquire a 2D/3D or CAD/CAM Image button.
The Imaging Acquisition dialog box appears.
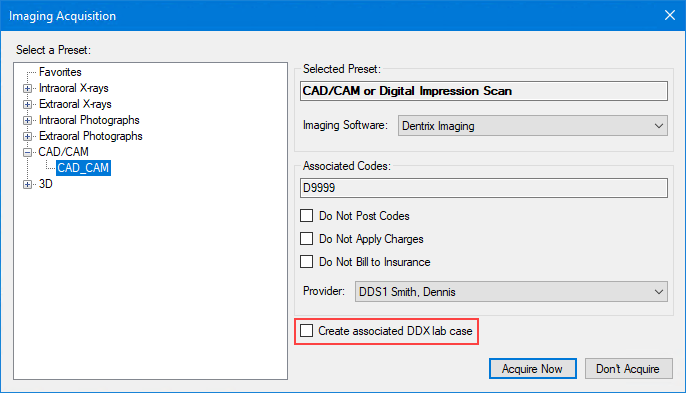
2. Under Select a Preset, click the image type (CAD/CAM), and then the specific type of image (CAD_CAM) you want to capture.
The type of image you selected appears in the Selected Preset text box, and if applicable,the associated codes in the Associated Codes text box.
3. Complete the following tasks:
Select the Imaging Software that you want to use to scan the image.
Select Create associated DDX lab case.
Click Acquire Now.
The imaging software you selected to scan the image opens.
4. Scan the patient, and return to the Patient Chart.
A notification from DDX appears.

5. Click the notification to open the draft.
The Assign Provider and Lab dialog box appears.
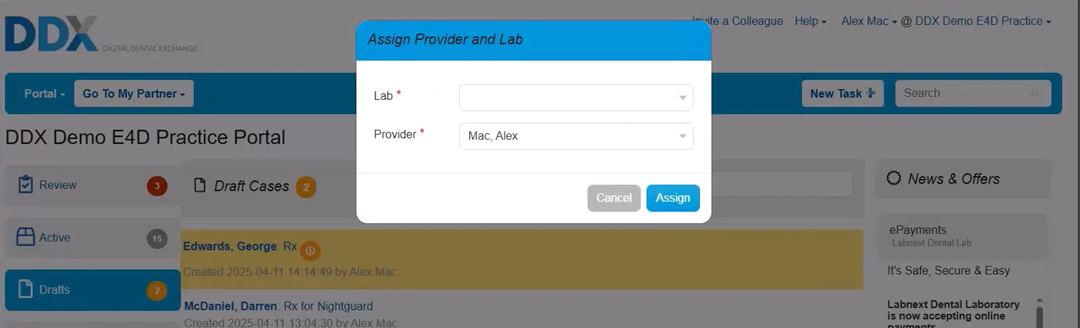
6. Select the destination lab, and then click Assign.
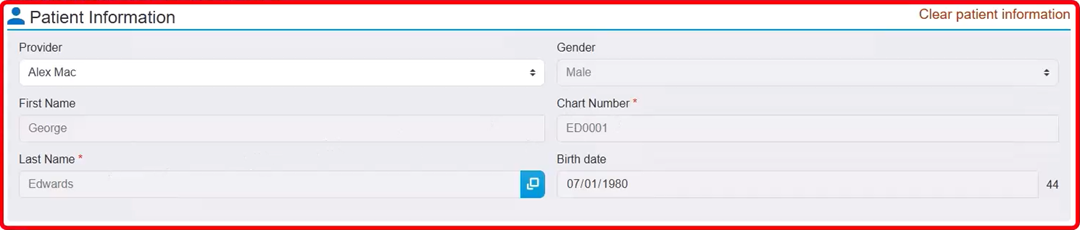
The patient's information is populated automatically from Dentrix.
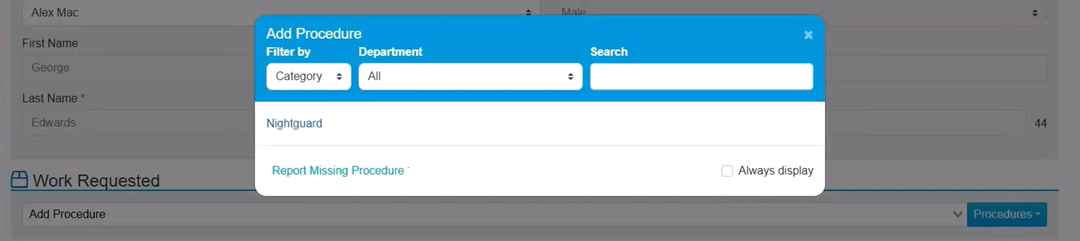
7. To select the desired procedure, under Work Requested, click Procedures.
The Add Procedure dialog box appears.
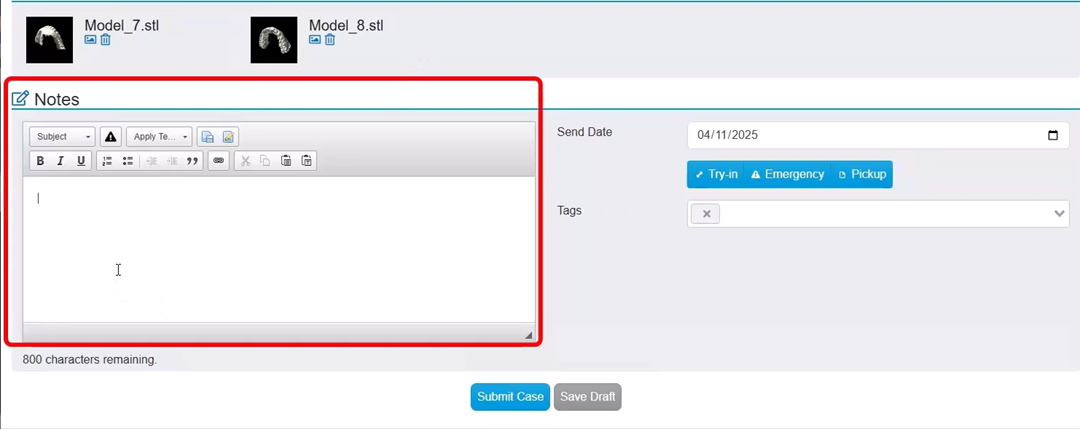
Note: The scans are attached automatically.
8. If necessary, add case notes, and then click Submit Case.
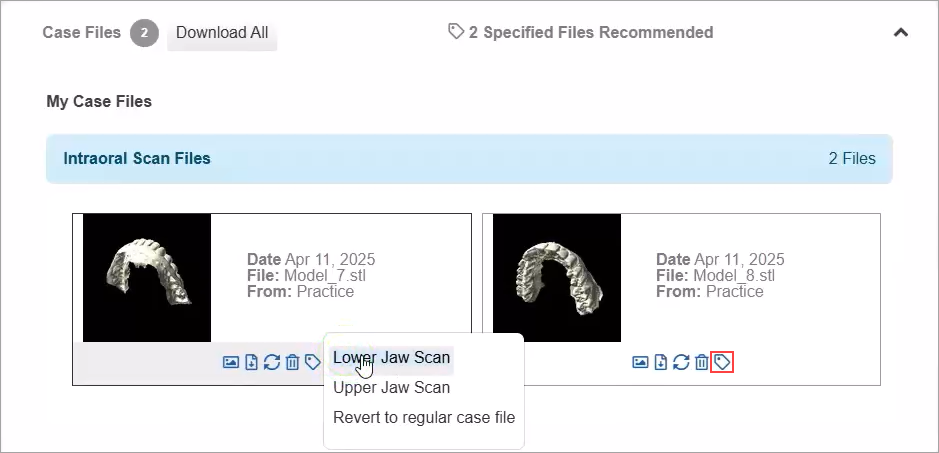
9. To tag each scan, click the Tag button, and then select the type of scan.
The case appears in the Case Manager panel in the Patient Chart, a Clinical Note is created automatically, and the prescription is saved to the Document Center as a PDF document.