
You can define and add custom presets to Dentrix Smart Image for all workstations to ensure procedures are described consistently and accurately.
To add a custom preset
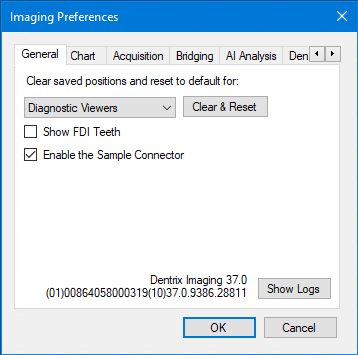
1. In the Imaging panel, click the Settings icon.
The Imaging Preferences dialog box appears.

2. Click the Acquisition tab.
3. Click Edit Acquisition Presets.
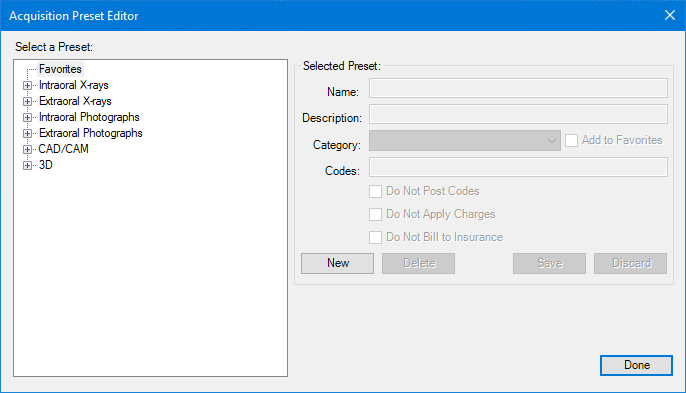
The Acquisition Preset Editor dialog box appears.

4. Click New.
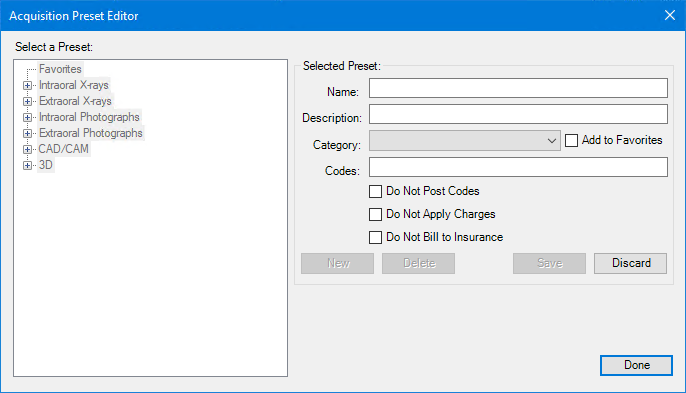
The options under Selected Preset become editable.

5. Under Selected Preset, complete the following:
Name – Type a name for the preset, such as 1BW.
Description – Type a description, such as One Bitewing Image.
Category – Select a category.
Codes – Type the associated procedure code.
6. To add the preset to your favorites list, select Add to Favorites.
7. Click Save, and then click Done.