Dentrix includes 24 procedure buttons that you can use to quickly post procedures to a patient's chart. However, there is no limit to the number of procedure buttons you can create or customize. Dentrix lets you assign a procedure code, multi-code, or condition to each button. In addition, the procedure button settings are computer specific, making it possible to customize the buttons according to the type of work done in a specific room or operatory.
Notes:
Dentrix contains the smart-code feature. Using smart-code you can enter a single procedure code, which updates when you post it depending on the surface or roots you selected. For example, if you select the one-surface amalgam procedure code (D2140), but enter three separate surfaces, the posted code is updated automatically to the three-surface procedure code (D2160). Smart-code eliminates the need to assign multiple variations of the same code to your procedure buttons.
You do not need to enter multiple variations of the same code, such as amalgams or root canals. Instead, assign the basic code to the button. The tooth number or surface selections are then checked, and the code is updated automatically to the appropriate variation. For example, if you post a three-surface amalgam using the D2140 procedure button, the code is updated to D2160 before it's added to the patient's progress notes. Assigning the D2140 (Amalgam-1surf. prim/perm) code to a button eliminates the need to assign codes D2150, D2160, and D2161 to a button.
Codes are automatically updated based on surfaces and tooth location when you post resins and amalgams. For example, if you use the Resin One Surface Anterior code to post a three-surface resin to tooth 28, the code is updated to reflect three surfaces and the posterior tooth location.
To edit a procedure button
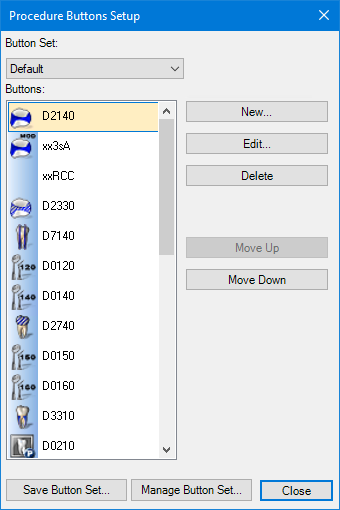
1. In the Patient Chart, click Setup, and then click Procedure Buttons Setup.
The Procedure Buttons Setup dialog box appears.

2. Select the procedure button that you want to edit, and then click Edit.
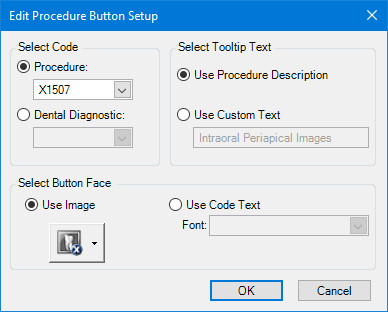
The Edit Procedure Button Setup dialog box appears.

3. To assign a different procedure code to the selected button, under Select Code, select one from the list.
Note: To assign a diagnostic code to the selected button, select Dental Diagnostic, and then select a code from the list.
4. To edit the button assigned to the procedure code you selected, under Select Button Face, do the following:
a. Select Use Image, and then click the Use Image button.
b. Click Edit Image.
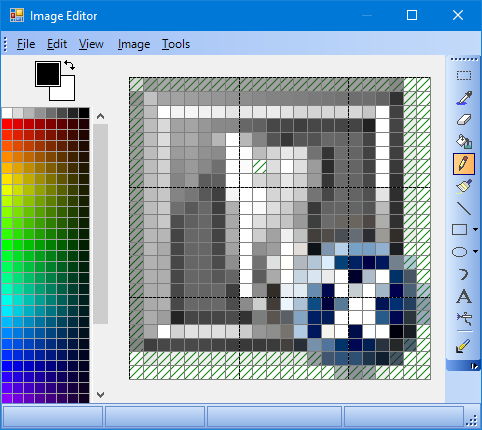
The Image Editor dialog box appears.

c. To edit the image, click Image to flip the image vertically or horizontally; rotate the image counterclockwise or clockwise; move the image; change the foreground or background colors; change the color palette; invert the colors; or capture, clear, or re-size the image.
Note: To create a new image using the Image Editor dialog box, click the Use Image button, and then click New Image.
5. To assign text to the procedure code you selected instead of a button, select Use Code Text and then select a font from the list.
6. Under Select Tooltip Text, do one of the following:
Use Procedure Description - Select to assign the ADA procedure description.
Use Custom Text - Select to create your own procedure description.
7. To save your changes, click OK.