You can create a custom toolbar to fit the individual needs of each user. For example, a hygienist may not need the same tools that the office staff or a dentist needs, so you could create a toolbar specific to each.
To create a custom toolbar
1. In the Patient Chart, click View, point to Toolbars, and then click Customize Toolbars.
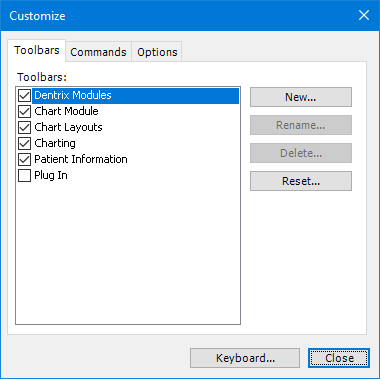
The Customize dialog box appears.

2. Click New.
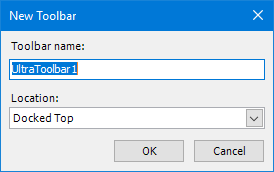
The New Toolbar dialog box appears.

3. Under Toolbar name, type a name for the new toolbar.
4. Select a location for the toolbar from the list:
Docked Top - Docks the toolbar at the top of the Patient Chart window but below the menu bar and any pre-existing toolbars.
Docked Bottom - Docks the toolbar at the bottom of the Patient Chart window.
Docked Left - Docks the toolbar on the left side of the Patient Chart window.
Docked Right - Docks the toolbar on the right side of the Patient Chart window.
Floating - Allows the toolbar to float rather than be docked or fixed in the Patient Chart window.
5. Click OK.
The toolbar is added to the list in the Customize dialog box and placed in the Patient Chart.
6. Add buttons to the toolbar.