Opening Dentrix modules
There are several ways to open a Dentrix module:
· The Dentrix Quick Launch in your Windows notification area
· A shortcut on the Windows desktop
The Windows Start menu
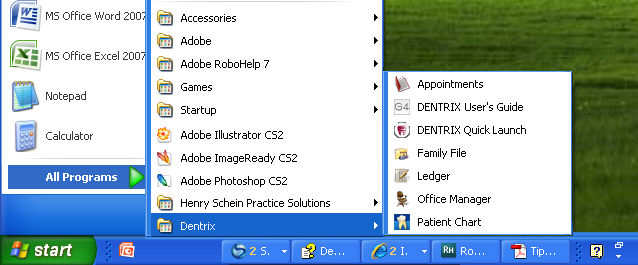
After you install Dentrix, a Dentrix folder will appear in your All Programs list on the Windows Start menu.
Simply click the name of the module you want to open.
The Dentrix Quick Launch
You can also start Dentrix modules using the Dentrix Quick Launch in the notification area of the Windows taskbar.
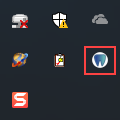
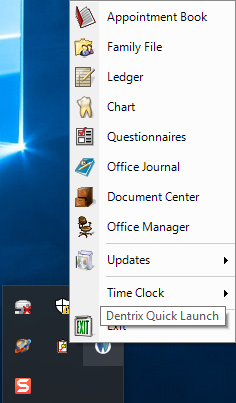
Right-click the icon to open the menu and then click on the module you want to open.
A shortcut on the Windows desktop
When you install Dentrix, shortcuts for the Office Manager, Patient Chart, Appointment Book, Family File, Ledger, and Dentrix Launcher are created automatically on the Windows desktop.

You can double-click these shortcuts to start the corresponding modules.
From another Windows module
Once you have opened any of the main Dentrix modules, you can open any other Dentrix module from the File menu or using the toolbar buttons. For example, the Patient Chart module includes a Dentrix Modules toolbar:

Clicking the first four buttons on this toolbar will start Family File, Ledger, Appointment Book, and Office respectively.
Dentrix will keep the current patient active when you open another module. For example, if you are working in a patient’s Ledger and start the Family File, information for the same patient is displayed in the Family File, and the patient name appears on the Family File window's title bar.
The Dentrix Launcher
The Dentrix Launcher is a graphical user interface from which you can open the following Dentrix modules:
|
· Appointment Book · Collections Manager · Continuing Care · DentriXlink · Document Center · DXWeb · Family File |
· Lab Case Manager · Ledger · Office Journal · Office Manager · Patient Chart · Practice Advisor · Practice Analysis |
· Presenter · Questionnaires · Time Clock · Treatment Manager · Treatment Planner
|
The Launcher consists of two views that resemble a dental front office and an operatory to help new and
inexperienced users take full advantage of the power and utility of Dentrix.
Front office view:
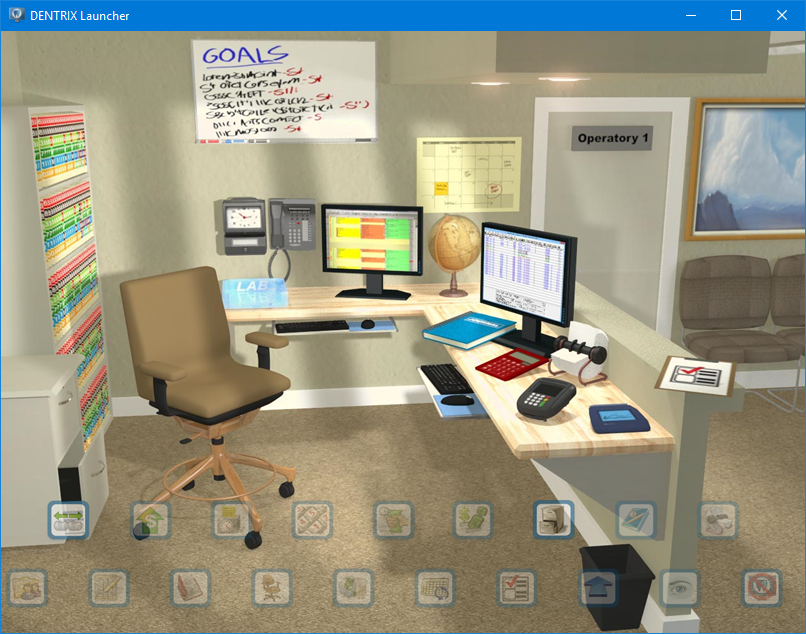
Operatory view:
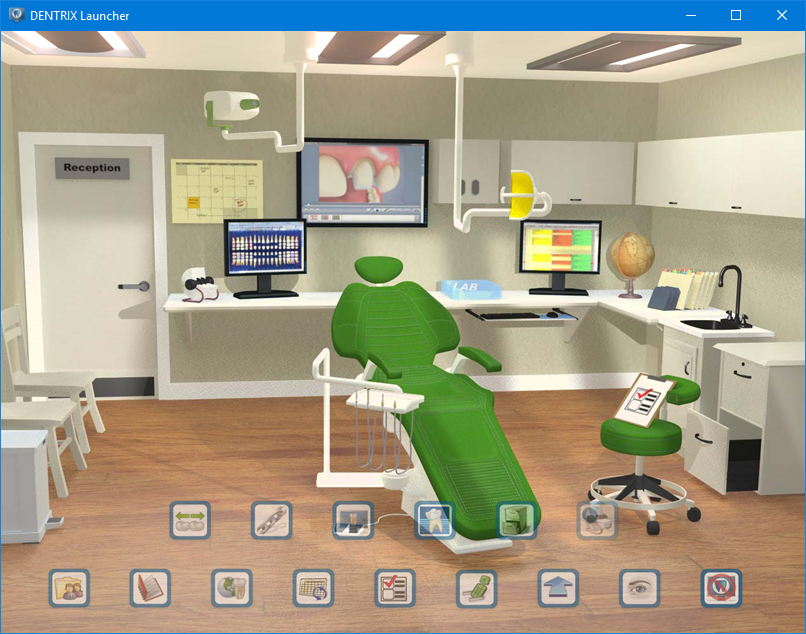
To open the Dentrix Launcher
1. Double-click the Dentrix Launcher icon on your Windows desktop.
The front office view appears.
2. To switch to the operatory view, click the door labeled Operatory 1 or click the Switch to Operatory button.
To open a Dentrix module from the Launcher
Click the button that corresponds to the Dentrix module that you want to open.
The appropriate Dentrix module appears.
Note: You can also open a Dentrix module by clicking the virtual object in the view that corresponds to the Dentrix module button. For example, to open the Time Clock module, you can either click the Time Clock button or click the virtual time clock on the front office wall.
To modify the Launcher’s settings
1. Double-click the Dentrix Launcher icon on your Windows desktop.
2. From the front office or operatory view, click the Start Launcher on Startup button.
The Launcher will start every time you log in or start Windows.
3. From the front office or operatory view, click the Hide Text Labels button.
The Labels naming the front office and operatory buttons are hidden.


